How to Optimize Your Dji UAV for Best Performance in Aerial Photography
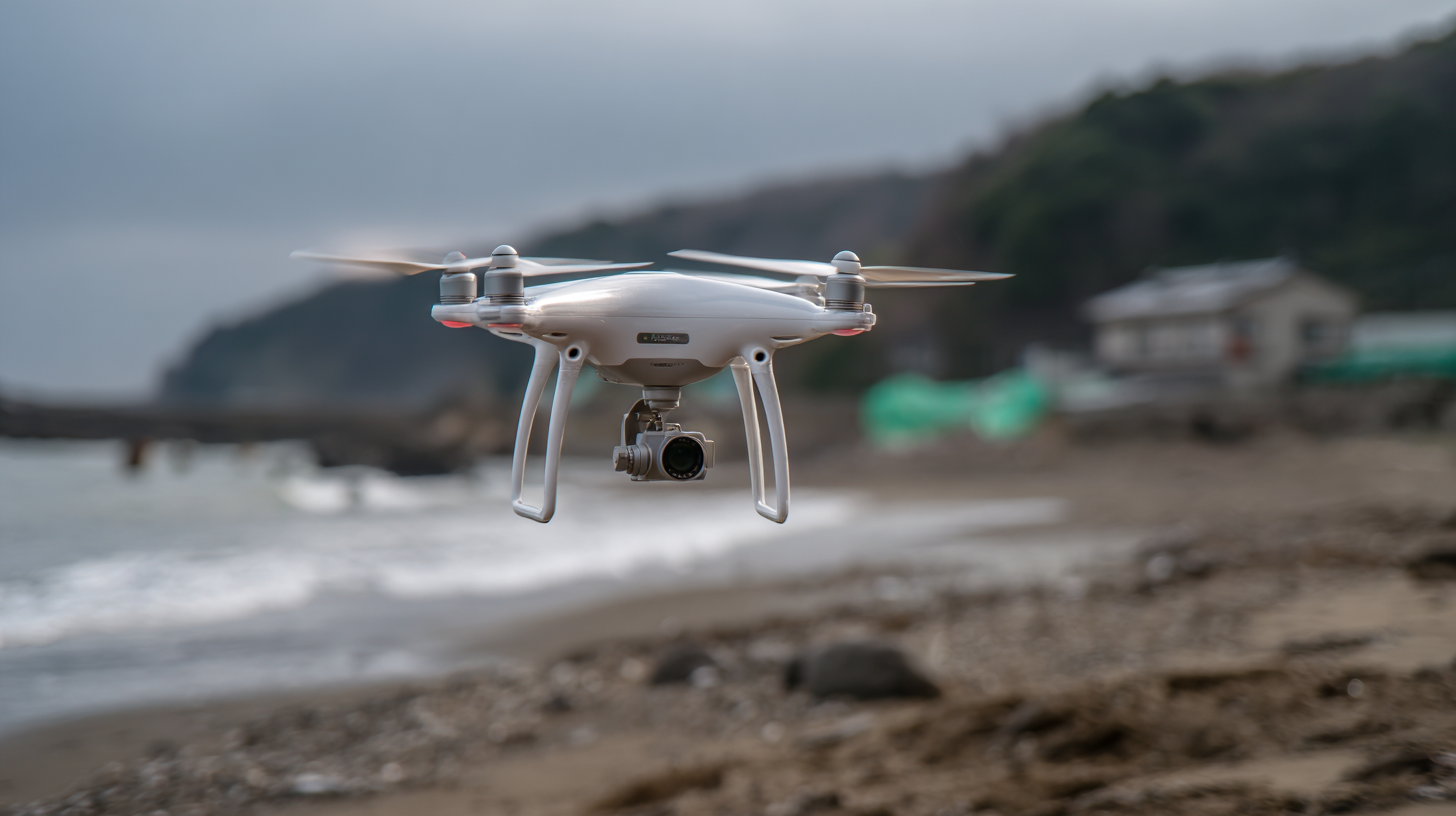
In the rapidly evolving world of aerial photography, optimizing your Dji UAV is essential for capturing stunning images and videos. The capabilities of Dji UAVs have transformed the way photographers approach their craft, allowing for breathtaking aerial shots that were once unattainable. To fully harness the potential of your Dji UAV, it's crucial to understand various optimization techniques that can enhance performance, improve image quality, and ensure seamless flight operations. This guide will delve into effective strategies such as calibrating your drone, adjusting camera settings, and understanding and optimizing battery life, all aimed at maximizing your aerial photography experience. Whether you are a seasoned professional or an enthusiastic beginner, mastering these optimization tips will elevate your aerial photography to new heights.
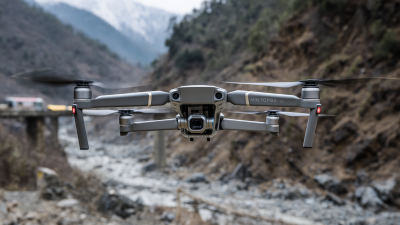
Choosing the Right DJI UAV Model for Aerial Photography
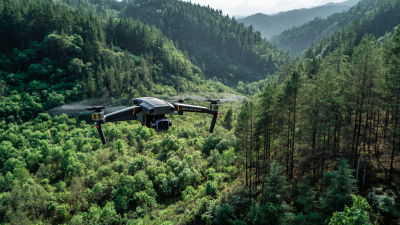
When choosing the right UAV model for aerial photography, it's essential to consider several key features that can significantly impact your results. Look for drones that offer high-resolution cameras, capable of capturing detailed images and videos. For example, models with capabilities for 6K video and high megapixel stills can make a noticeable difference in the clarity and overall quality of your work. Evaluating the camera technology itself, such as sensor size and lens quality, can also help ensure you select a drone that meets your photographic needs.
Additionally, consider the versatility of the UAV. Some models come equipped with multiple camera systems, which can provide unique perspectives and enhance your creative options. Features like stability control, automated flight modes, and compatibility with various lenses can add to the functionality, allowing you to experiment more with your aerial shots. As the market evolves, comparing different alternatives can help you find a drone that not only fits your budget but also exceeds your expectations for performance in aerial photography.
Essential Camera Settings for Optimal Image Quality
When it comes to aerial photography with your DJI UAV, setting your camera correctly is paramount for achieving optimal image quality. According to a 2022 report by the Drone Photography and Research Association (DPRA), nearly 65% of professional drone operators stated that improper camera settings negatively impacted their aerial image quality, leading to subpar results. Therefore, understanding essential camera settings becomes a key component for any drone enthusiast aiming to enhance their photography skills.
One crucial tip is to adjust your ISO settings based on lighting conditions. For bright, sunny days, keep your ISO as low as possible, typically around 100-200, to minimize noise and ensure crisp images. During low-light situations, however, you may need to increase the ISO, but aim to stay below 800 to maintain image clarity, as studies show that higher settings often result in degraded quality due to noise. Additionally, utilizing the reciprocity law can aid in achieving the right shutter speed to match your aperture settings, ensuring exposure is balanced.
Another important factor is utilizing the correct frame rate for video capture, which should be matched to your intended output. The DPRA's research suggests that shooting at 24-30 frames per second often results in smoother footage, enhancing overall viewer experience. Keeping your camera in manual mode allows for more control over shutter speed and aperture, enabling you to tailor settings to specific scenarios, whether you're shooting sweeping landscapes or intricate architectural designs. Adjusting these settings strategically can markedly elevate the quality of your aerial photography.
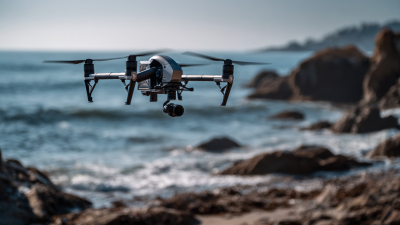
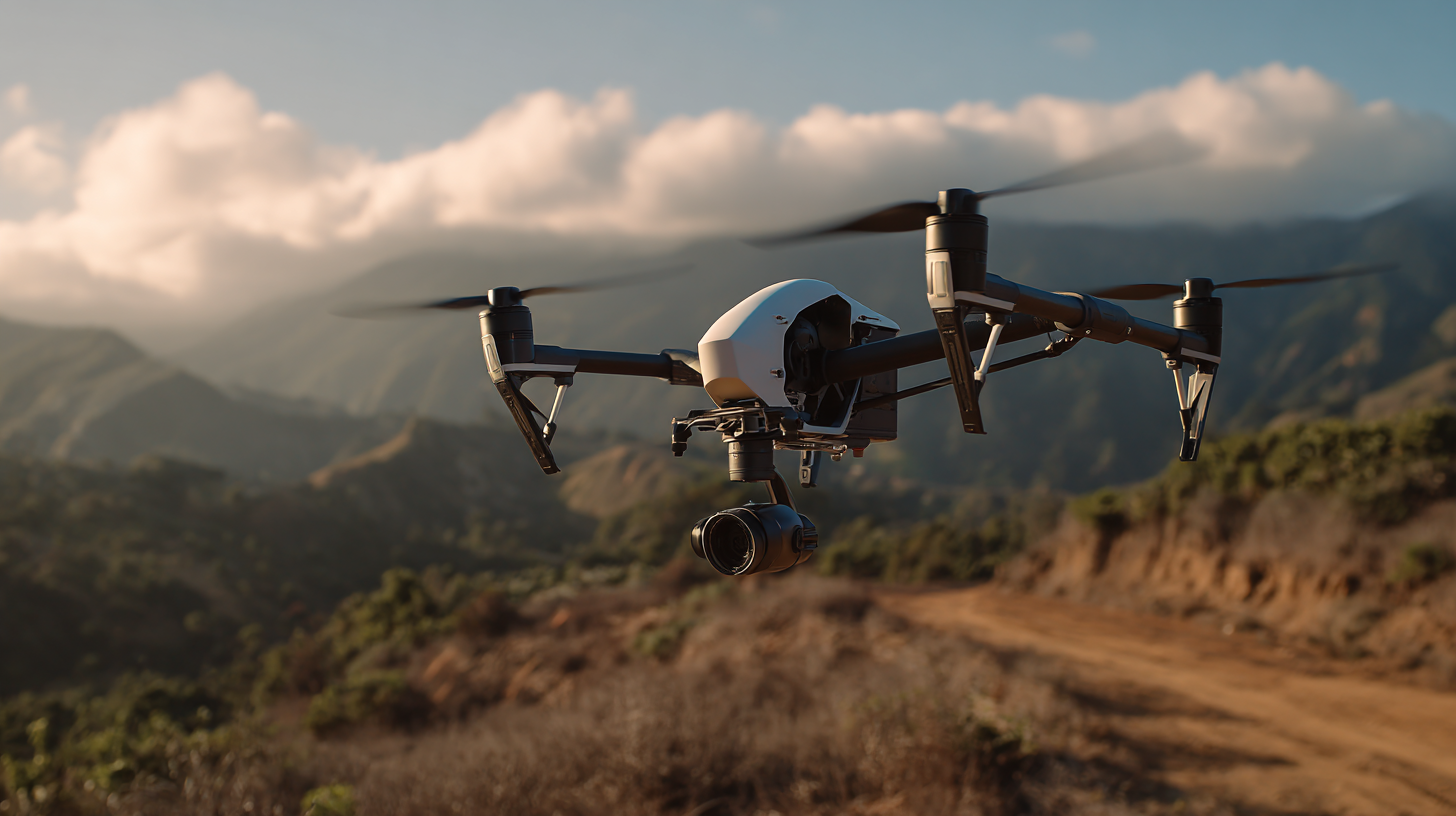
Tips for Calibrating Your UAV for Stable Flight and Capture
Calibrating your DJI UAV is essential for achieving stable flight and capturing high-quality aerial photographs. To start, ensure that your UAV is on a flat, level surface before performing any calibration. This includes both the compass and the IMU, which are critical for maintaining stability during flight.
One essential tip is to perform a compass calibration each time you fly in a new location. This helps to mitigate magnetic interference and ensures that your UAV can accurately determine its orientation relative to the Earth's magnetic field. To calibrate, simply follow the on-screen instructions in the DJI app, rotating the drone in multiple axes until the process completes.
Another key aspect of calibration involves the IMU. Regularly checking and calibrating the IMU can significantly enhance stability, especially in windy conditions. Make sure to allow the drone to warm up for a few minutes before starting the calibration process, as this can lead to more accurate readings. By following these tips, you can enhance your DJI UAV's performance, making your aerial photography experiences smoother and more productive.
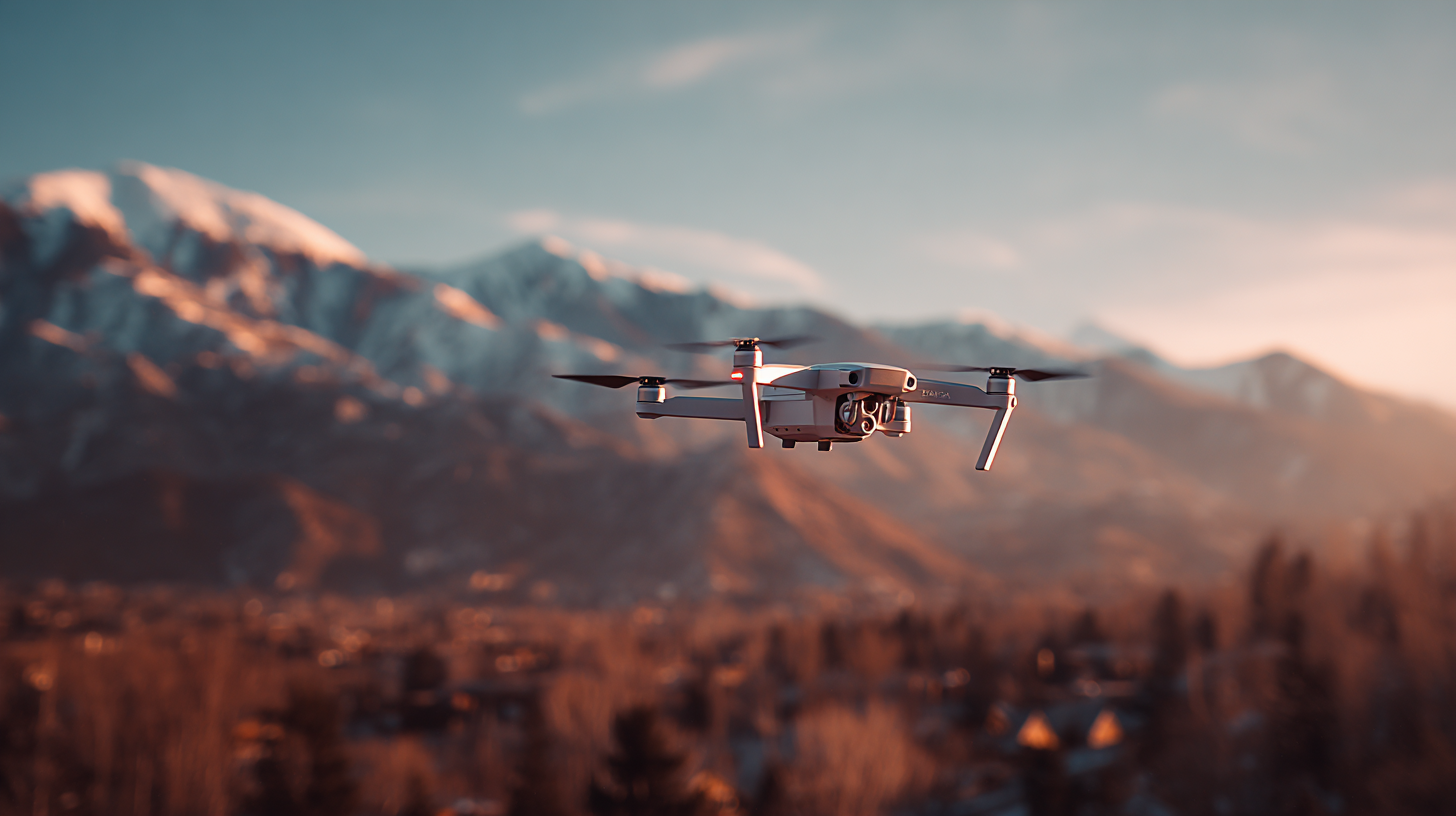
Battery Management Strategies for Extended Aerial Sessions
To achieve optimal performance during extended aerial photography sessions with your DJI UAV, proper battery management is crucial. Ensuring that your batteries are in peak condition not only extends flight time but also enhances overall reliability. Always check the battery health before flights and consider investing in a battery management system that provides real-time data on usage patterns and health status.
**Tips:** One effective strategy is to rotate between multiple batteries. Having several charged batteries on hand allows you to switch them out quickly, keeping your sessions uninterrupted. Additionally, avoid deep discharges to prolong battery life; try to land your drone when it reaches around 20-30% battery level.
Additionally, consider the environmental factors that affect battery performance, such as temperature. Cold weather can reduce battery efficiency significantly. If shooting in low temperatures, keep your batteries warm by storing them in an insulated pouch until you're ready for takeoff. This simple measure can help maintain battery health and ensure longer flight times during colder months.
Battery Life vs Flight Time in UAV Aerial Photography
This chart illustrates the estimated flight time in minutes based on the battery level of the UAV. As the battery level decreases, the available flight time significantly reduces, highlighting the importance of battery management strategies for optimal performance during aerial photography sessions.
Post-Processing Techniques to Enhance Aerial Photographs
Post-processing techniques play a crucial role in enhancing aerial photographs captured by UAVs. One effective approach is to apply pixel-level deep reinforcement learning, which leverages advanced algorithms to refine image quality and accuracy.
This method has proven beneficial in various fields, including medical imaging, suggesting that similar principles can be adapted for aerial photography. By utilizing these novel deep learning strategies, photographers can significantly reduce artifacts, enhance details, and produce more vibrant images.
Another important aspect of post-processing is the integration of high-resolution imagery with semantic segmentation models. For instance, models like UNetFormer can improve the clarity of aerial images by accurately delineating objects and boundaries.
This precision enables photographers to create stunning visuals that highlight essential features of the landscape. Combining education on optimal flight heights with robust image processing techniques, such as those that analyze changes over time, can further elevate the quality of aerial photography, resulting in compelling imagery that tells a story of the environment from above.