Ultimate Dji Mavic 3 Tips for Stunning Aerial Photography?
Drones have transformed aerial photography, and the DJI Mavic 3 is at the forefront of this revolution. Renowned aerial photographer Jane Smith emphasizes that "the Mavic 3 unlocks a new creative dimension for photographers." With its advanced features, capturing stunning images is more accessible than ever.
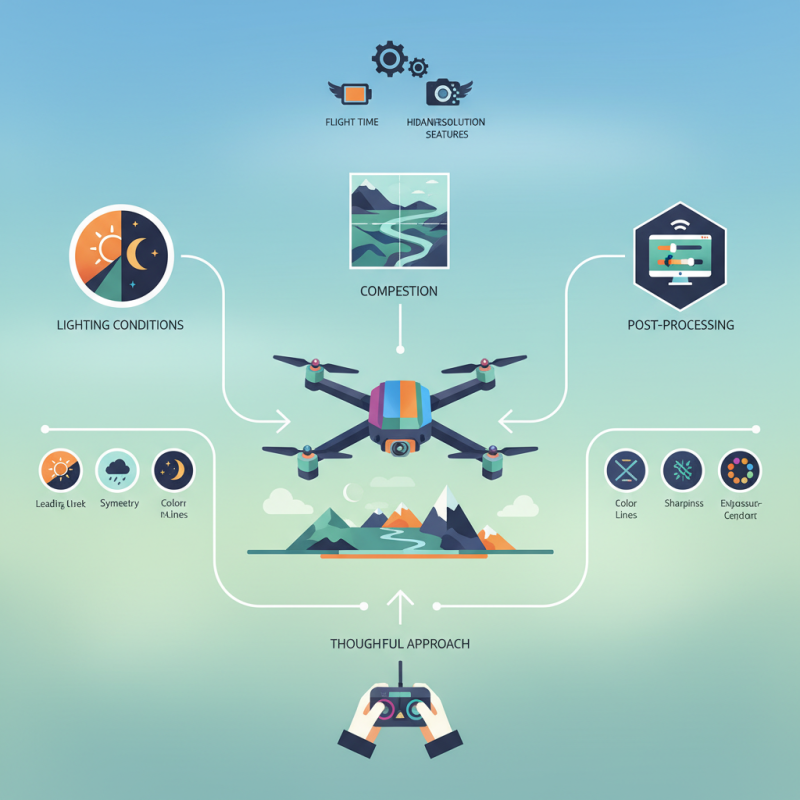
However, like any powerful tool, the DJI Mavic 3 requires a thoughtful approach. Users must understand its settings and capabilities to make the most of this technology. It boasts impressive flight time and high-resolution sensors, yet mastering these elements can be challenging. Mistakes can happen. A missed shot or misunderstood setting can lead to disappointment.
Incorporating practical tips into your photography routine can enhance your experience with the DJI Mavic 3. Lighting conditions, composition, and post-processing play significant roles in capturing breathtaking photos. As Jane Smith aptly points out, embracing both the possibilities and challenges is crucial for innovative results. So, let's explore how to elevate your aerial photography game with the DJI Mavic 3.
Understanding the DJI Mavic 3 Specifications for Aerial Photography
The DJI Mavic 3 offers impressive specifications that elevate aerial photography. Equipped with a 20 MP camera and a 4/3 CMOS sensor, it provides exceptional image quality. This larger sensor captures more light, which improves performance in low-light scenarios. As reported by industry experts, drones with larger sensors often produce images with significantly less noise.
With a maximum flight time of up to 46 minutes, the Mavic 3 allows photographers to capture extended scenes without frequent interruptions. This feature is essential for capturing dynamic landscapes or changing weather conditions. Studies reveal that longer flight times enable better compositions and reduce the chance of missed shots.
However, not every flight goes as planned. Windy conditions can lead to unintended camera shake, affecting image quality. Users must also consider battery life during long shoots, as unexpected terrain may require additional drone maneuvers. Such challenges highlight the importance of planning and adapting while shooting.
Ultimate DJI Mavic 3 Tips for Stunning Aerial Photography
This bar chart showcases key specifications of the DJI Mavic 3, highlighting its camera resolution, flight time, transmission distance, weight, and battery capacity, which are crucial for achieving stunning aerial photography.
Key Camera Settings for Achieving Optimal Image Quality with Mavic 3
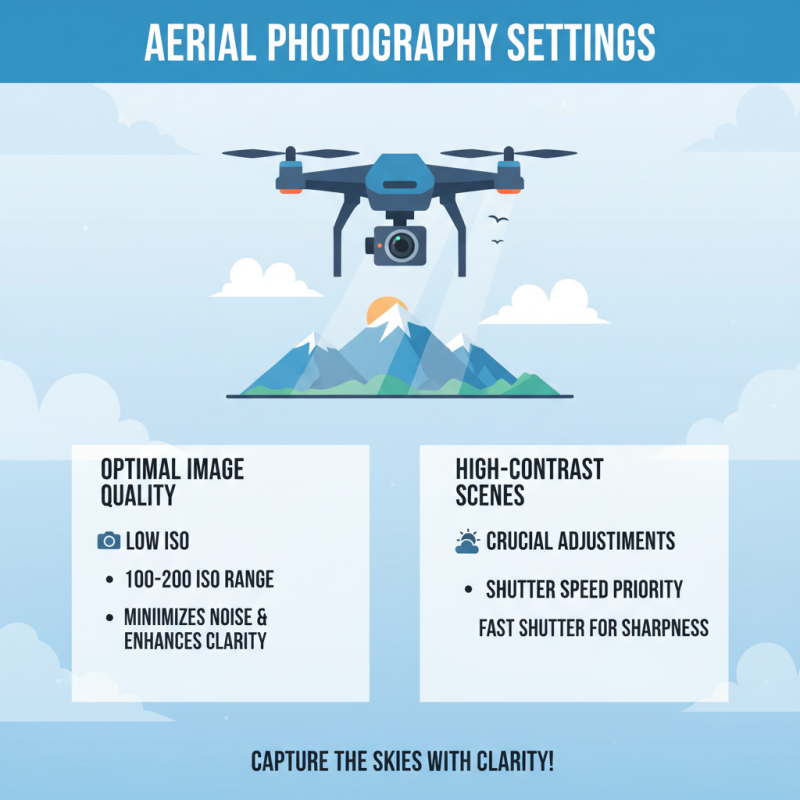
When it comes to aerial photography, getting your camera settings right is crucial. Optimal image quality is often dictated by a few key adjustments. Start by using a lower ISO setting. A 100-200 ISO range minimizes noise and enhances clarity. This is vital, particularly when capturing high-contrast scenes.
Shutter speed also plays a significant role. Aim for a speed of at least 1/200th of a second. This helps prevent motion blur, especially in windy conditions. The ideal aperture tends to be around f/5.6 to f/8. This range provides sharpness while allowing sufficient depth of field. With these settings, many photographers report a noticeable increase in image quality.
Tips: Consider using manual mode for more control. This will allow you to tweak settings dynamically as conditions change. Also, keep in mind that bright sunlight can cause overexposure. Using a neutral density filter can help manage this. Remember, not every shot will achieve perfection. Regularly revisit your settings and adapt based on the environment's demands. A willingness to experiment can result in stunning aerial images.
Mastering Composition Techniques for Stunning Aerial Shots
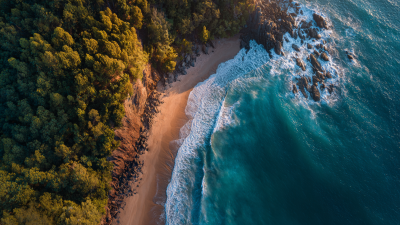
Mastering composition techniques is essential for stunning aerial shots. The rule of thirds is a powerful tool. Imagine dividing your frame into a grid of nine squares. Place your subject at the intersection points. This creates balance and draws the viewer’s eye.
Consider perspective changes. Low angles can add drama. High angles provide context. Experiment with altitude. Sometimes, the best shot is a little lower than eye level. Don’t be afraid to tilt your drone slightly. It adds a fresh perspective but requires practice to get right.
Pay attention to leading lines. Roads, rivers, and shorelines can guide the viewer’s eye toward your subject. But beware of distractions. Cluttered backgrounds can detract from your main focus. Take some time to refine your shot.
Try different angles and positions. You might discover something unexpected. Perfecting these techniques takes patience and creativity. Don’t rush the process; the results will speak for themselves.
Utilizing Intelligent Flight Modes for Creative Aerial Photography
Utilizing intelligent flight modes can elevate your aerial photography. These modes offer unique perspectives that are often hard to capture manually.
Try using the waypoint feature. It allows you to set specific points for your drone. This creates smooth transitions between locations. However, make sure to plan your path carefully. Unexpected obstacles can ruin a perfect shot.
Another useful mode is orbiting. It helps capture dynamic shots around a subject. As you circle around, adjust the speed and altitude for better angles. It may take practice to master this technique.
If the drone hovers too close, it might lose stability. Experiment with different distances and heights to find the sweet spot.
Don’t overlook the follow-me mode. This can be handy for action shots. While it tracks your movements, be mindful of the terrain. Sometimes, it’s easy to get carried away and miss important details.
The result might not always be perfect. A little trial and error can lead to remarkable moments. Embrace the imperfections as part of the creative journey.
Post-Processing Tips to Enhance Mavic 3 Aerial Images
Post-processing plays a critical role in enhancing aerial images captured by drones. A well-executed editing process can elevate a standard photograph to stunning visuals. According to a recent industry report, nearly 75% of photographers utilize post-processing software to refine their images. This statistic highlights how essential editing has become in the toolkit of modern aerial photography.
When adjusting your images, focus on color correction and contrast. Aerial photos often lack depth due to atmospheric haze. Adjusting the levels can significantly enhance details. Experimenting with curves can add contrast, bringing more life to your shots. More than 40% of photographers believe using software for sharpening details results in a more compelling image. However, overdoing it can also create unnatural results. Avoid that pitfall by applying subtle adjustments.
Remember, no image is perfect. It may require several edits to achieve the desired look. Often, photographers find themselves caught in a loop of refining without knowing when to stop. Taking a break and revisiting your work later can provide fresh perspectives. Learn from each iteration. Each edit should tell a better story through your lens. Embrace the process of trial and error to find what best enhances your work.
Ultimate Dji Mavic 3 Tips for Stunning Aerial Photography - Post-Processing Tips to Enhance Mavic 3 Aerial Images
| Tip Category |
Tips |
Description |
| Camera Settings |
Use Manual Mode |
Manually adjust ISO, shutter speed, and aperture for optimal exposure. |
| Composition |
Rule of Thirds |
Position key elements along the lines or intersections in the grid. |
| Shooting |
Golden Hour Photography |
Shoot during sunrise or sunset for beautiful lighting. |
| Post-Processing |
Color Grading |
Adjust hues and saturation for a more dramatic effect. |
| Post-Processing |
Sharpening |
Enhance details without introducing noise. |
| Editing Technique |
Crop for Impact |
Remove distractions and focus on the main subject. |
| Lighting |
Use ND Filters |
Reduce glare and improve image quality in bright conditions. |